When the button is pressed in this example, a text string is sent to the computer as keyboard input. The string reports the number of times the button has been pressed. Once you have the Leonardo programmed and wired up, open up your favourite text editor to see the results.
NB: When you use the Keyboard.print() command, the Arduino takes over your computer's keyboard! To insure you don't lose control of your computer while running a sketch with this function, make sure to set up a reliable control system before you call Keyboard.print(). This sketch includes a pushbutton to toggle the keyboard, so that it only runs after the button is pressed.
Step 1: What You Need?
1 x Arduino Leonardo, Mirco, or Due Board
Software Required
- Any text editor
- Any text editor
Don't have components? Don't worry. Just click the component's name.
Step 2: Build Your Circuit.

Step 3: Upload The Code.
1. Select the Arduino board type: Select Tools >> Board >> Select your correct Arduino board used.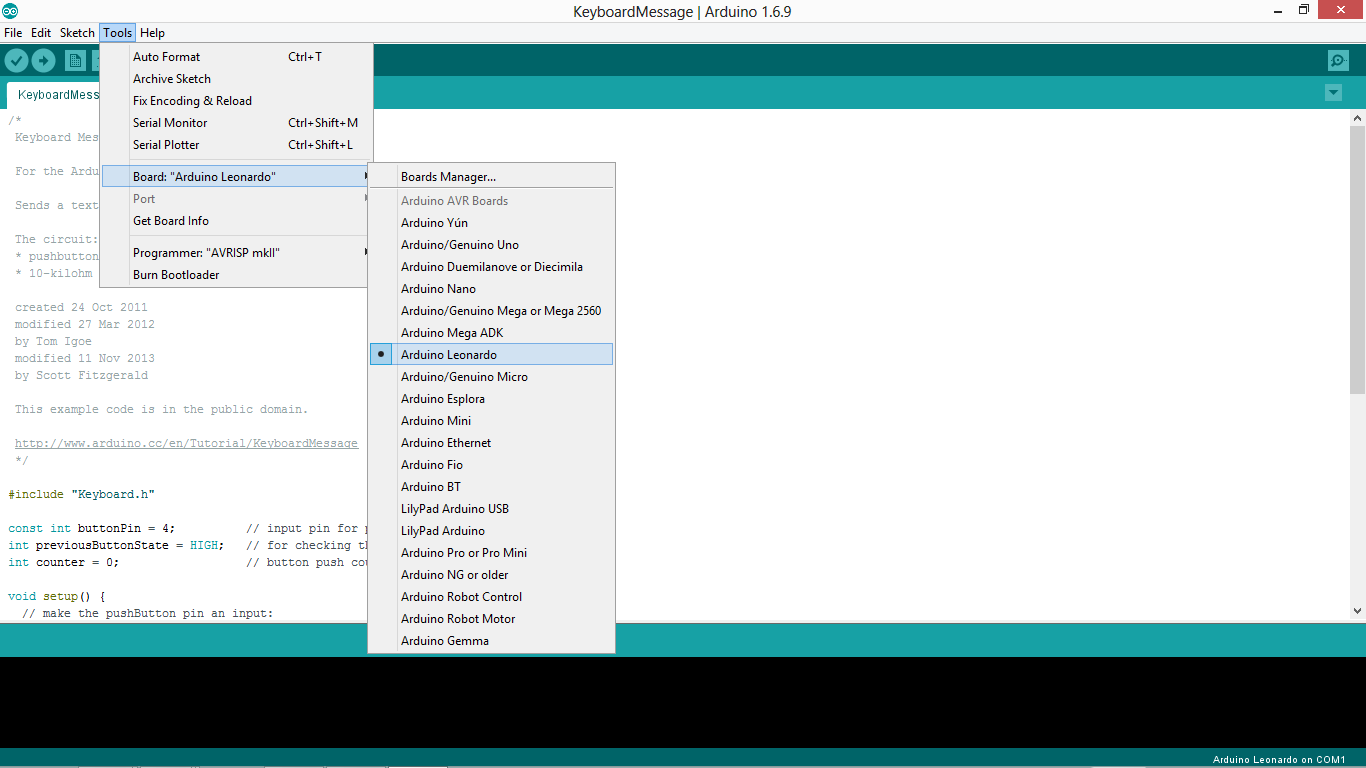
2. Find the port number by accessing device manager on Windows. See the section Port (COM&LPT) and look for an open port named "Arduino Leonardo (COMxx)". If you are using a different board, you will find a name accordingly. What matters is the xx in COMxx part. In my case, it's COM3. So my port number is 3.
Select the right port: Tools >> Port >> Select the port number.

3. You can find this code in the example of Arduino IDE.
Select File >> Examples >> 09.USB >> Keyboard >> KeyboardMessage

My Robot Education Sdn. Bhd. (Robotedu.my) was founded in 2015 as the first robotics education centre in Malaysia to provide Arduino-based robotics courses for youths. Our vision is to be able to provide robotics education to every youth in Malaysia.


0 comments:
Post a Comment